Context
Late last year, while surfing Reddit, I came across r/EmuDev, which (you guessed it!) is a subreddit for emulator development. On reading some of the posts and poking around, I saw a lot of people recommending CHIP-8 as a beginner project to learn emulation. I tried to make it a couple of times, but the motivation wasn’t simply there.
This semester however, the idea stuck (mainly because I had Computer Organisation and Microprocessor as one of my subjects), and I decided that it was high time to prioritise it. So I kept working on it on and off. And now its finally gotten to a stage that I can showcase it.
While classifications such as RISC or CISC did not appear until the late 80s, the concepts existed. CHIP-8 has a simple, RISC-like instruction set that runs on it virtual machine. It was developed by Joseph Weisbecker in 1977 and ran on computers such as the COSMAC VIP and Telmac 1800.
Specifications
- Memory: 4 KB RAM
- Display: 64 × 32 monochrome pixels
- Program Counter (PC): Points to the current instruction
- Index Register (I): 16-bit memory address register
- Stack: Stores return addresses for subroutines
- Delay Timer: 8-bit timer, decrements at 60 Hz
- Sound Timer: 8-bit timer, beeps while non-zero
- Registers: 16 general-purpose 8-bit registers (V0-VF)
- VF: Also used as a flag register (e.g. carry/borrow)
In addition to this, I’ll be using raylib to handle the graphics aspect of the program, as it’s simple and fun to work with.
Implementation
Registers
struct {
    uint8_t display[64][32];
    uint8_t memory[4096];
    uint8_t keypad[16];
    uint8_t v[16];

    uint16_t pc;
    uint16_t index;
    uint16_t stack[256];

    uint8_t sound;
    uint8_t delay;
    uint8_t sp;
} Chip8;
Another thing that I realised while declaring structs was that in some cases they take up less space if arranged in a specific way, so keep that in mind.
Opcodes
-
Fixed Size: Every instruction is exactly 16 bits (2 bytes).
-
Embedded Registers: Hex variables inside the opcode (usually
XandY) identify which of the 16 general-purpose registers (V0toVF) to read from or write to. -
Your predefined opcode table will store an array of structures, where each entry contains:
- Pattern: The base hexadecimal template of the instruction with variables zeroed out (e.g.,
0x8001). - Mask: A bitmask to isolate the static identifier bits and ignore the variable register bits (e.g.,
0xF00F). - Function Pointer: A direct reference to the function that executes that specific instruction.
- Pattern: The base hexadecimal template of the instruction with variables zeroed out (e.g.,
-
The Formula for Lookup & Execution Workflow is Step through the table and find the matching instruction using bitwise operations:
-
Loop over each opcode and check which one is matching
Display
- Memory / ROMs
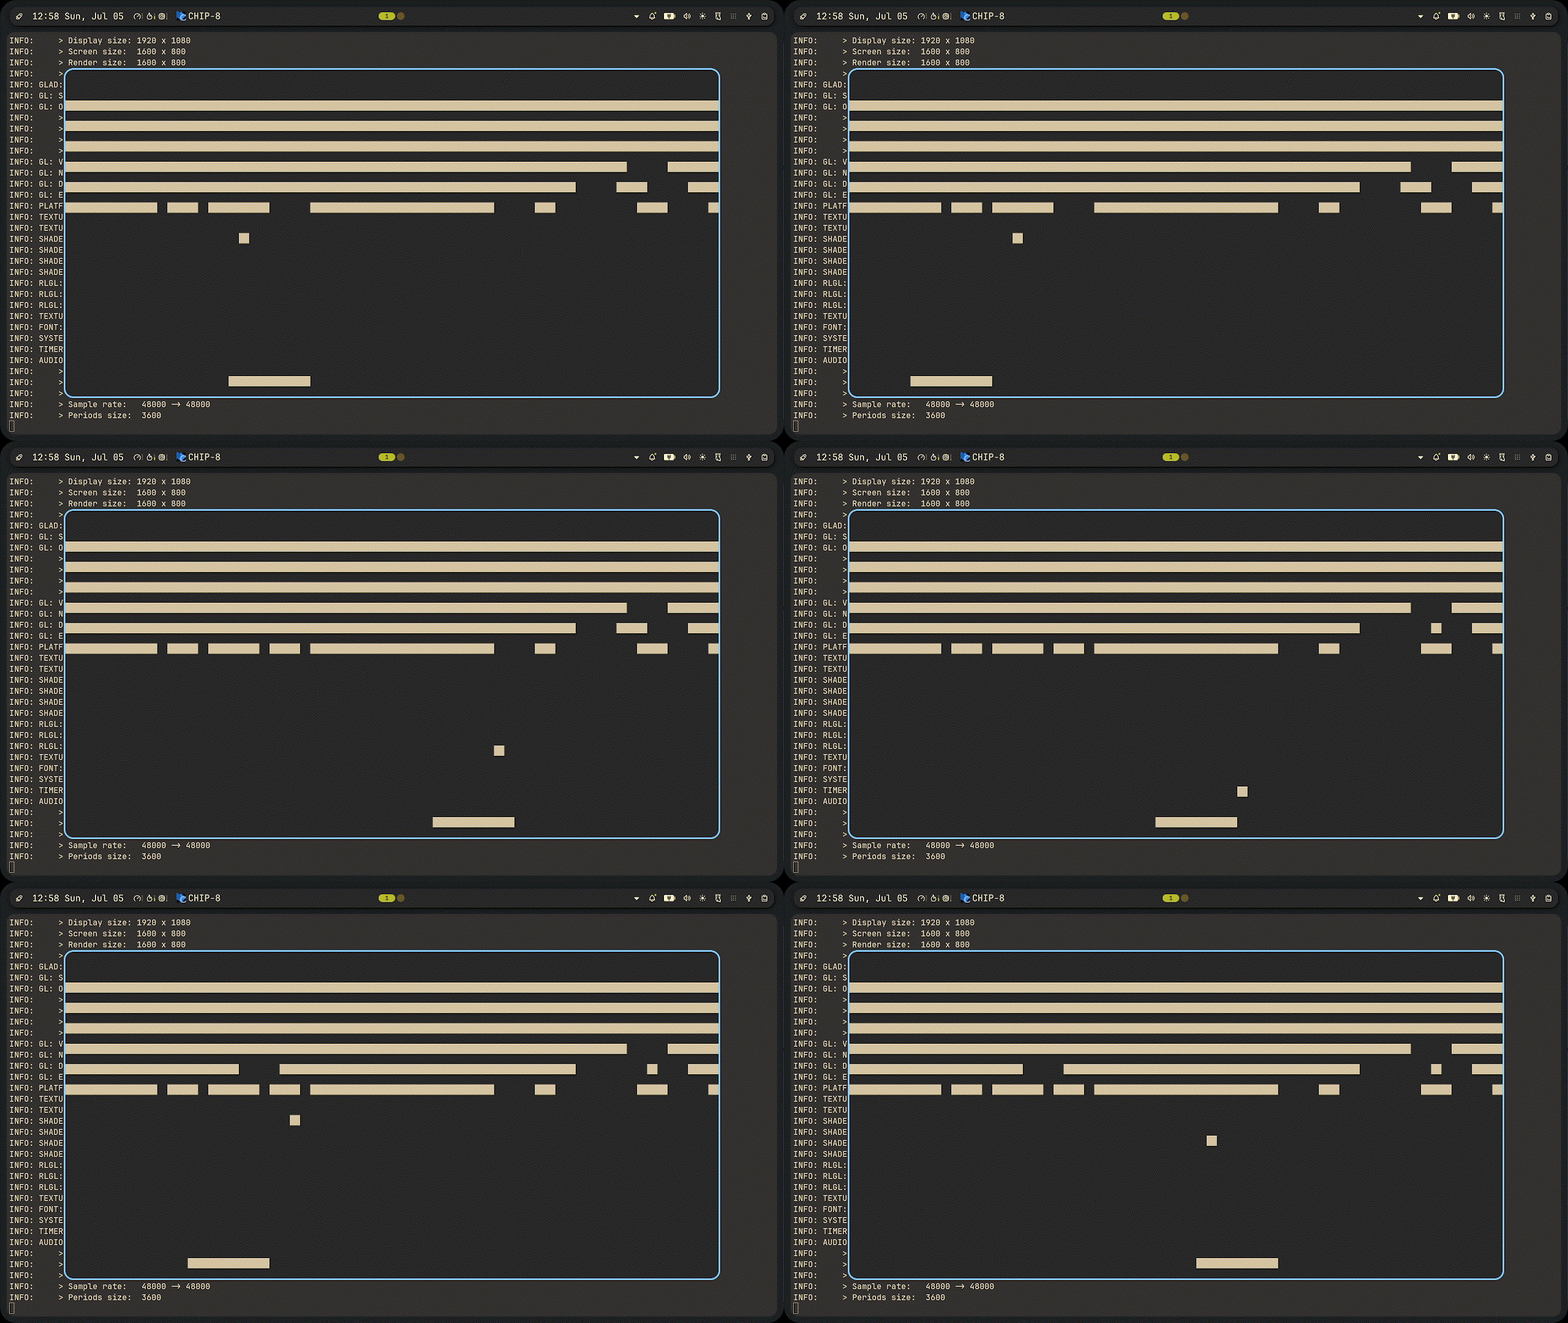
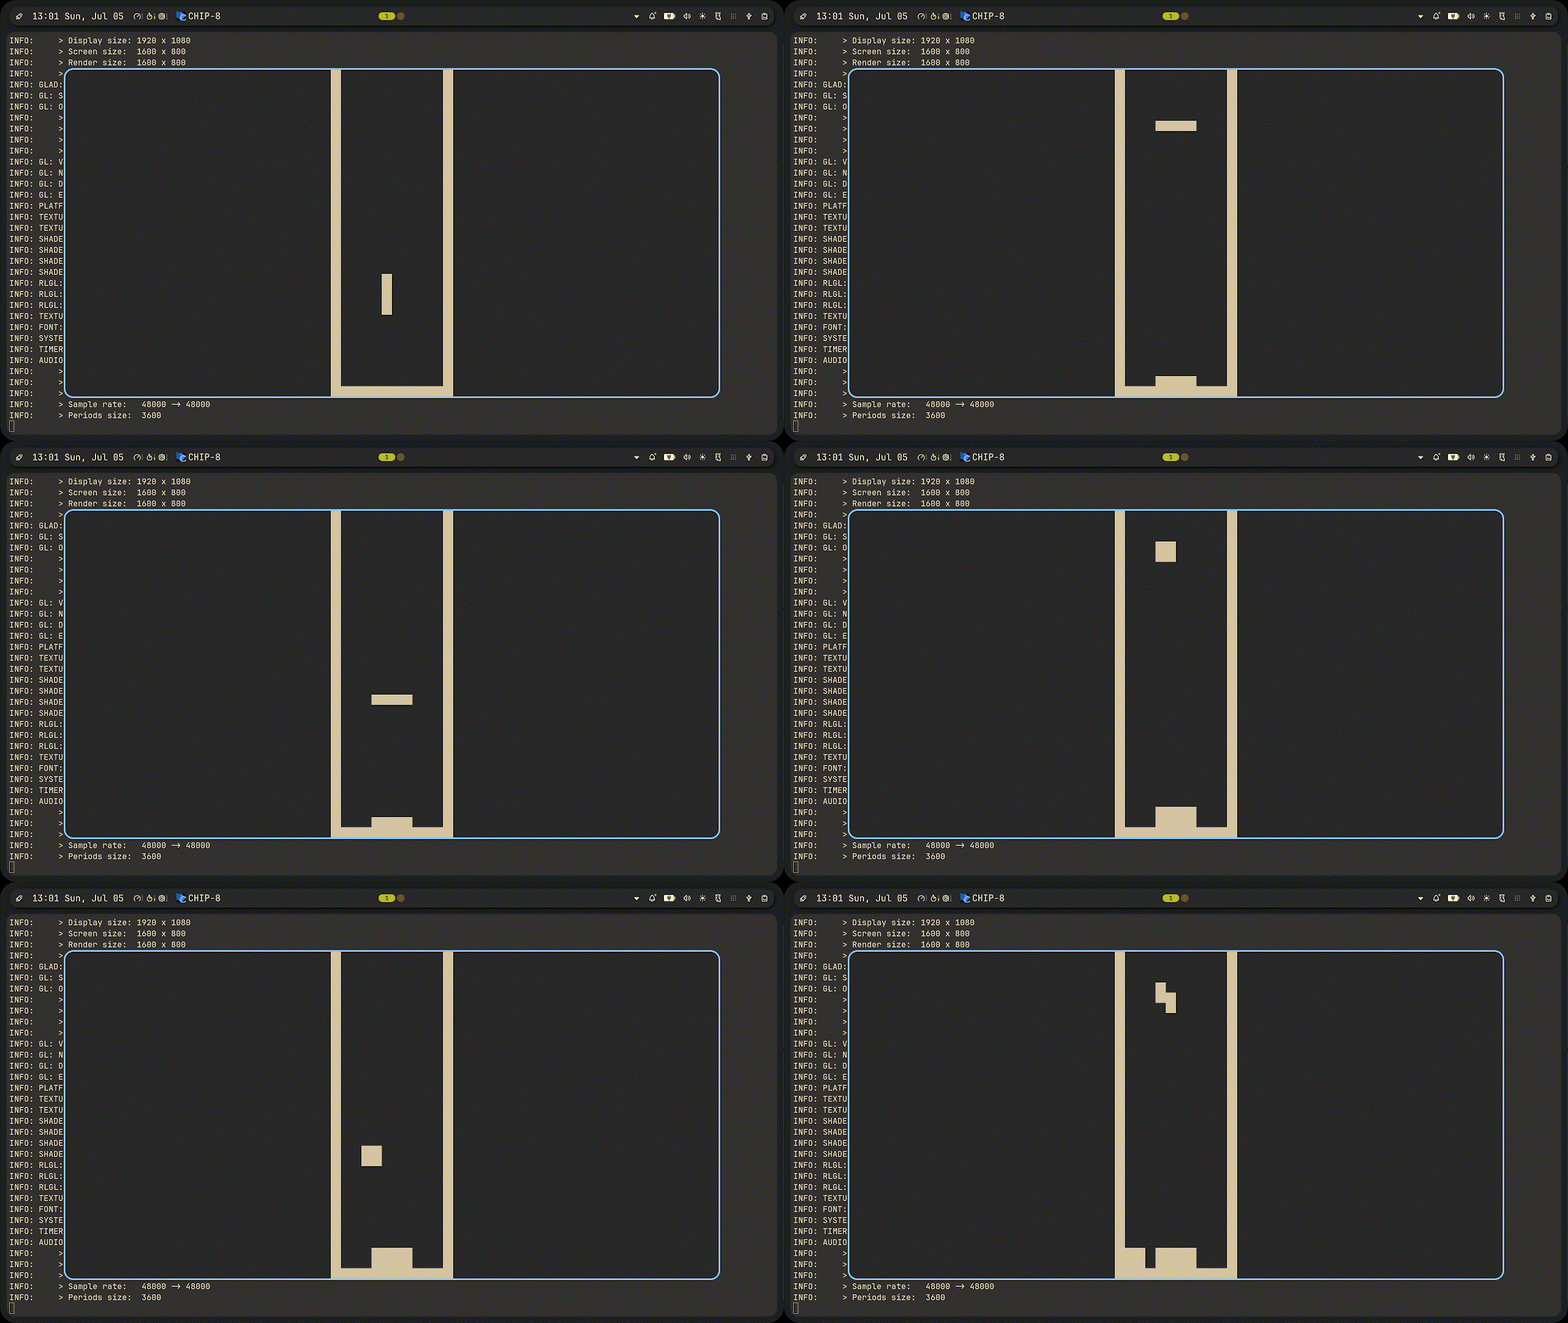
Demos
Breakout
Tetris
Maze
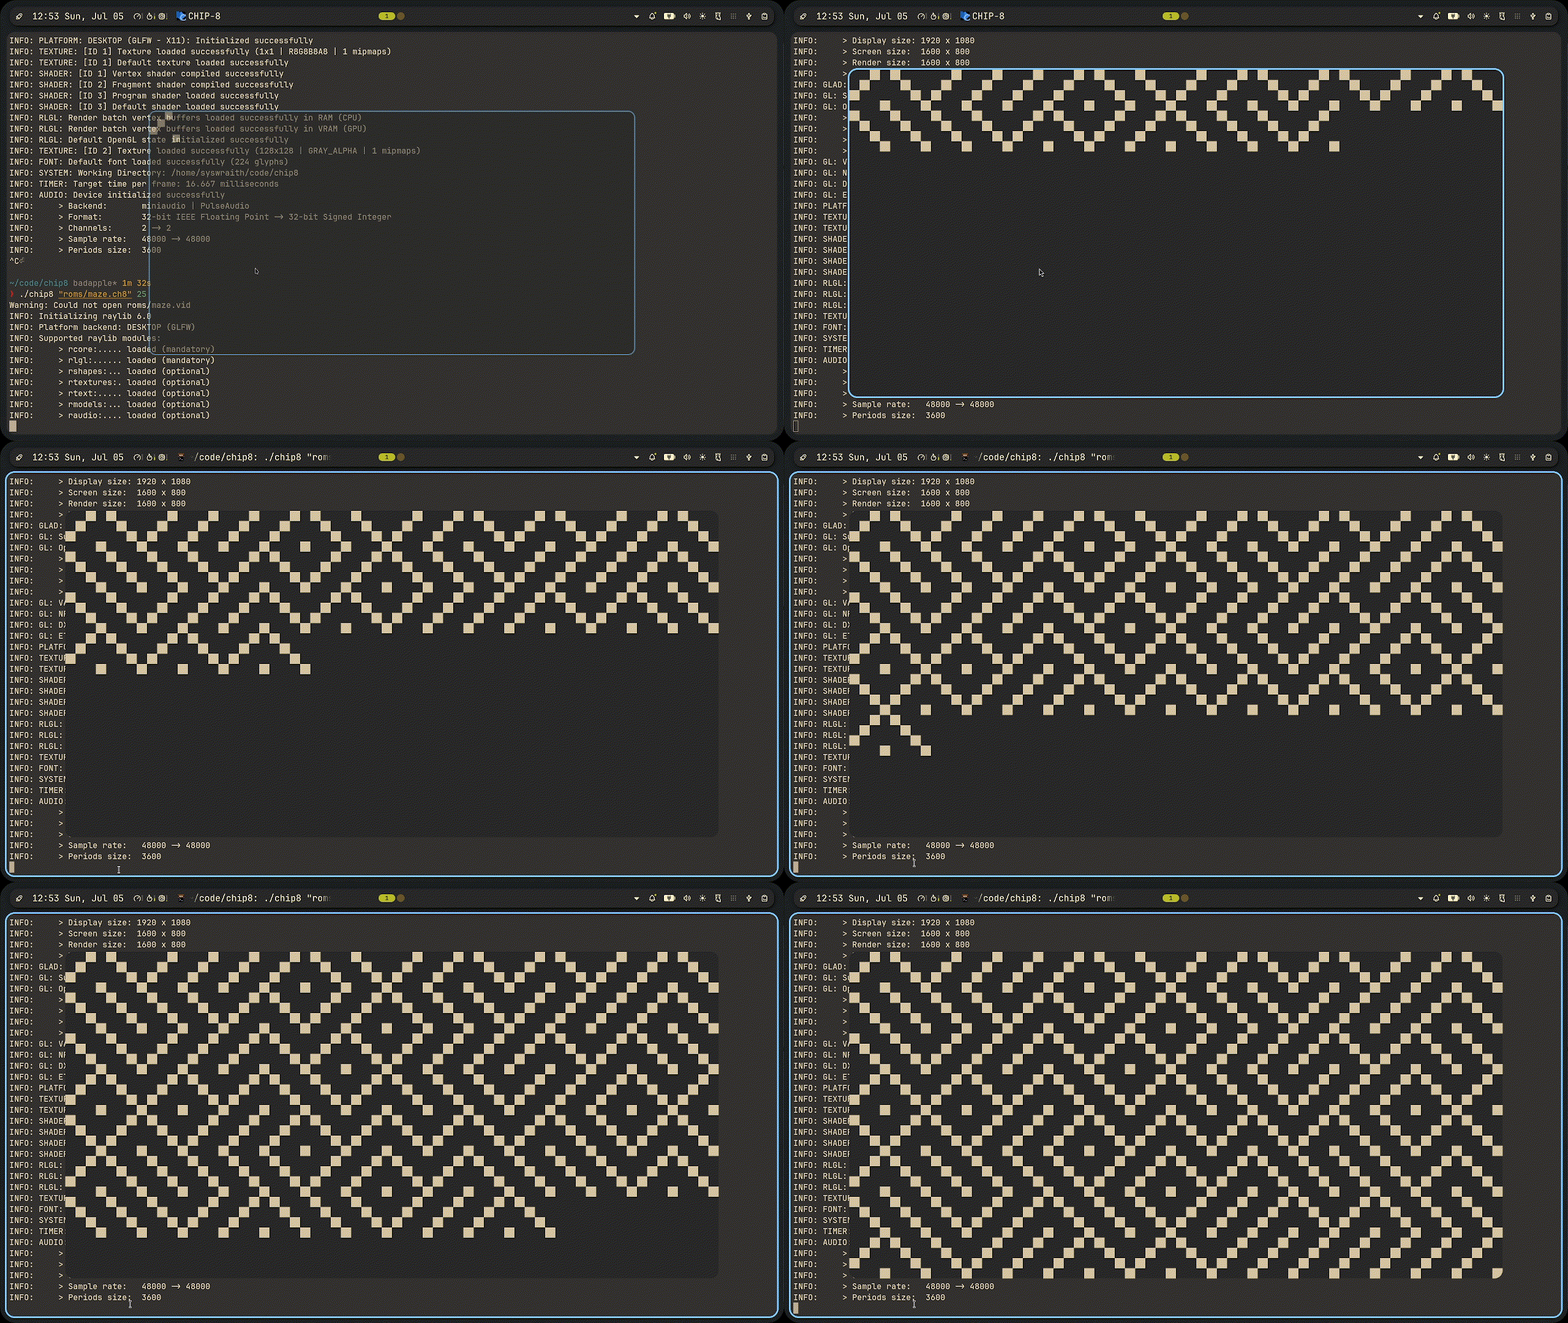
Sirpinski
Bad Apple
CHIP-8 was never designed for video playback. Its normal display pipeline works by drawing sprites onto the screen using XOR operations, one 8-pixel-wide row at a time. That’s fine for games, but for a 30fps video it’s way too slow and cumbersome to work with.
So I cheated a little.
Getting the video
First, grab the video with yt-dlp:
yt-dlp https://www.youtube.com/watch?v=FtutLA63Cp8 -o badapple.mp4Then downscale it to 64×32 and convert it to grayscale with ffmpeg, outputting raw frames:
ffmpeg -i badapple.mp4 \
  -vf "scale=64:32,format=gray" \
  -r 30 \
  frames/%04d.png
Make sure the frames/ directory exists before running. This gives you a numbered sequence of PNG images, one per frame, each exactly 64×32 pixels.
The .vid format
The format is dead simple: just frames packed back to back, where each frame is exactly 2048 bytes (64×32 pixels, one byte per pixel, either 0 or 1). No header, no compression, no delta encoding.
A small Python script converts the frames into this binary format:
from PIL import Image
import os

THRESHOLD = 128
frames_dir = "frames"
output_path = "badapple.vid"

with open(output_path, "wb") as out:
    for filename in sorted(os.listdir(frames_dir)):
        if not filename.endswith(".png"):
            continue

        img = Image.open(os.path.join(frames_dir, filename)).convert("L")
        pixels = list(img.getdata())

        out.write(bytes(1 if p >= THRESHOLD else 0 for p in pixels))

print(f"Done. Written to {output_path}")
Each pixel gets thresholded to either 0 or 1 — anything above 128 brightness is on, anything below is off. This gives you the 1-bit display that CHIP-8 expects.
When the ROM loads, load_rom automatically looks for a matching .vid file alongside the .ch8:
char *dot = strrchr(video_path, '.');
if (dot) strcpy(dot, ".vid");
chip.video = fopen(video_path, "rb");
So badapple.ch8 just needs badapple.vid sitting next to it.
The custom opcode
I added a custom opcode — F0F0 — that doesn’t exist in the CHIP-8 spec at all. When the emulator encounters it, instead of drawing sprites, it blasts the next frame directly into chip.display:
fread(chip.display, sizeof(chip.display), 1, chip.video);That’s it. One fread call overwrites the entire display buffer with the next frame. On EOF it rewinds and loops. The ROM itself is then just an infinite loop that keeps emitting F0F0, and the rate limiter inside the handler controls playback speed.
Why this works
chip.display is just a flat array of bytes. platform_render doesn’t care how those bytes got there — it just draws a rectangle for every non-zero pixel. So whether the display was updated by a normal DXYN sprite draw or by a raw fread, the renderer is none the wiser.
The whole thing is a bit of a hack, but it works, and it was a good reminder that at the end of the day an emulator is just software — you can bend the rules when you’re the one implementing them.
Conclusion
Overall, this was a really fun project. It gave me a solid introduction to how emulators and virtual machines work, and I ended up learning a lot more than I expected. Along the way, I got a much better understanding of things like bit masking, bit shifting, conditional and unconditional jumps, computer architecture, and how instructions are actually executed.
If you’re looking to get into emulator development, I’d definitely recommend building a CHIP-8 emulator. It’s small enough to be manageable, but teaches you a lot of concepts that show up everywhere else.